Splitorium User Guide
Welcome to Splitorium! This comprehensive guide will help you master every feature of our expense sharing app—from simple expense splits to advanced family settlements.
Introduction #
Splitorium is a powerful yet intuitive expense sharing app designed to make splitting costs with friends, family, and roommates effortless. Splitorium works offline-first and includes unique features like virtual users, family mode, and shared todo lists — built for group organizers.
🎯 What Makes Splitorium Different
- Built for organizers – Virtual users, family mode, trip cost tracking
- Offline-First – Works without internet, syncs when connected
- Virtual Users – Add people who don't have the app
- Family Mode – One person handles payments for their family
- Default Splits – Save splitting templates for consistent expense patterns
- Recurring Expenses – Auto-generate rent, subscriptions, and bills
- Shared Lists – Grocery lists, todo lists within groups
- All Currencies – 150+ currencies worldwide
- 6 Languages – English, Spanish, French, German, Arabic, Farsi
Creating Your Account #
Getting started with Splitorium takes just a minute. Download the app from the App Store or Google Play, then sign up with your email.
Download & Open
Download Splitorium from your app store and open it.
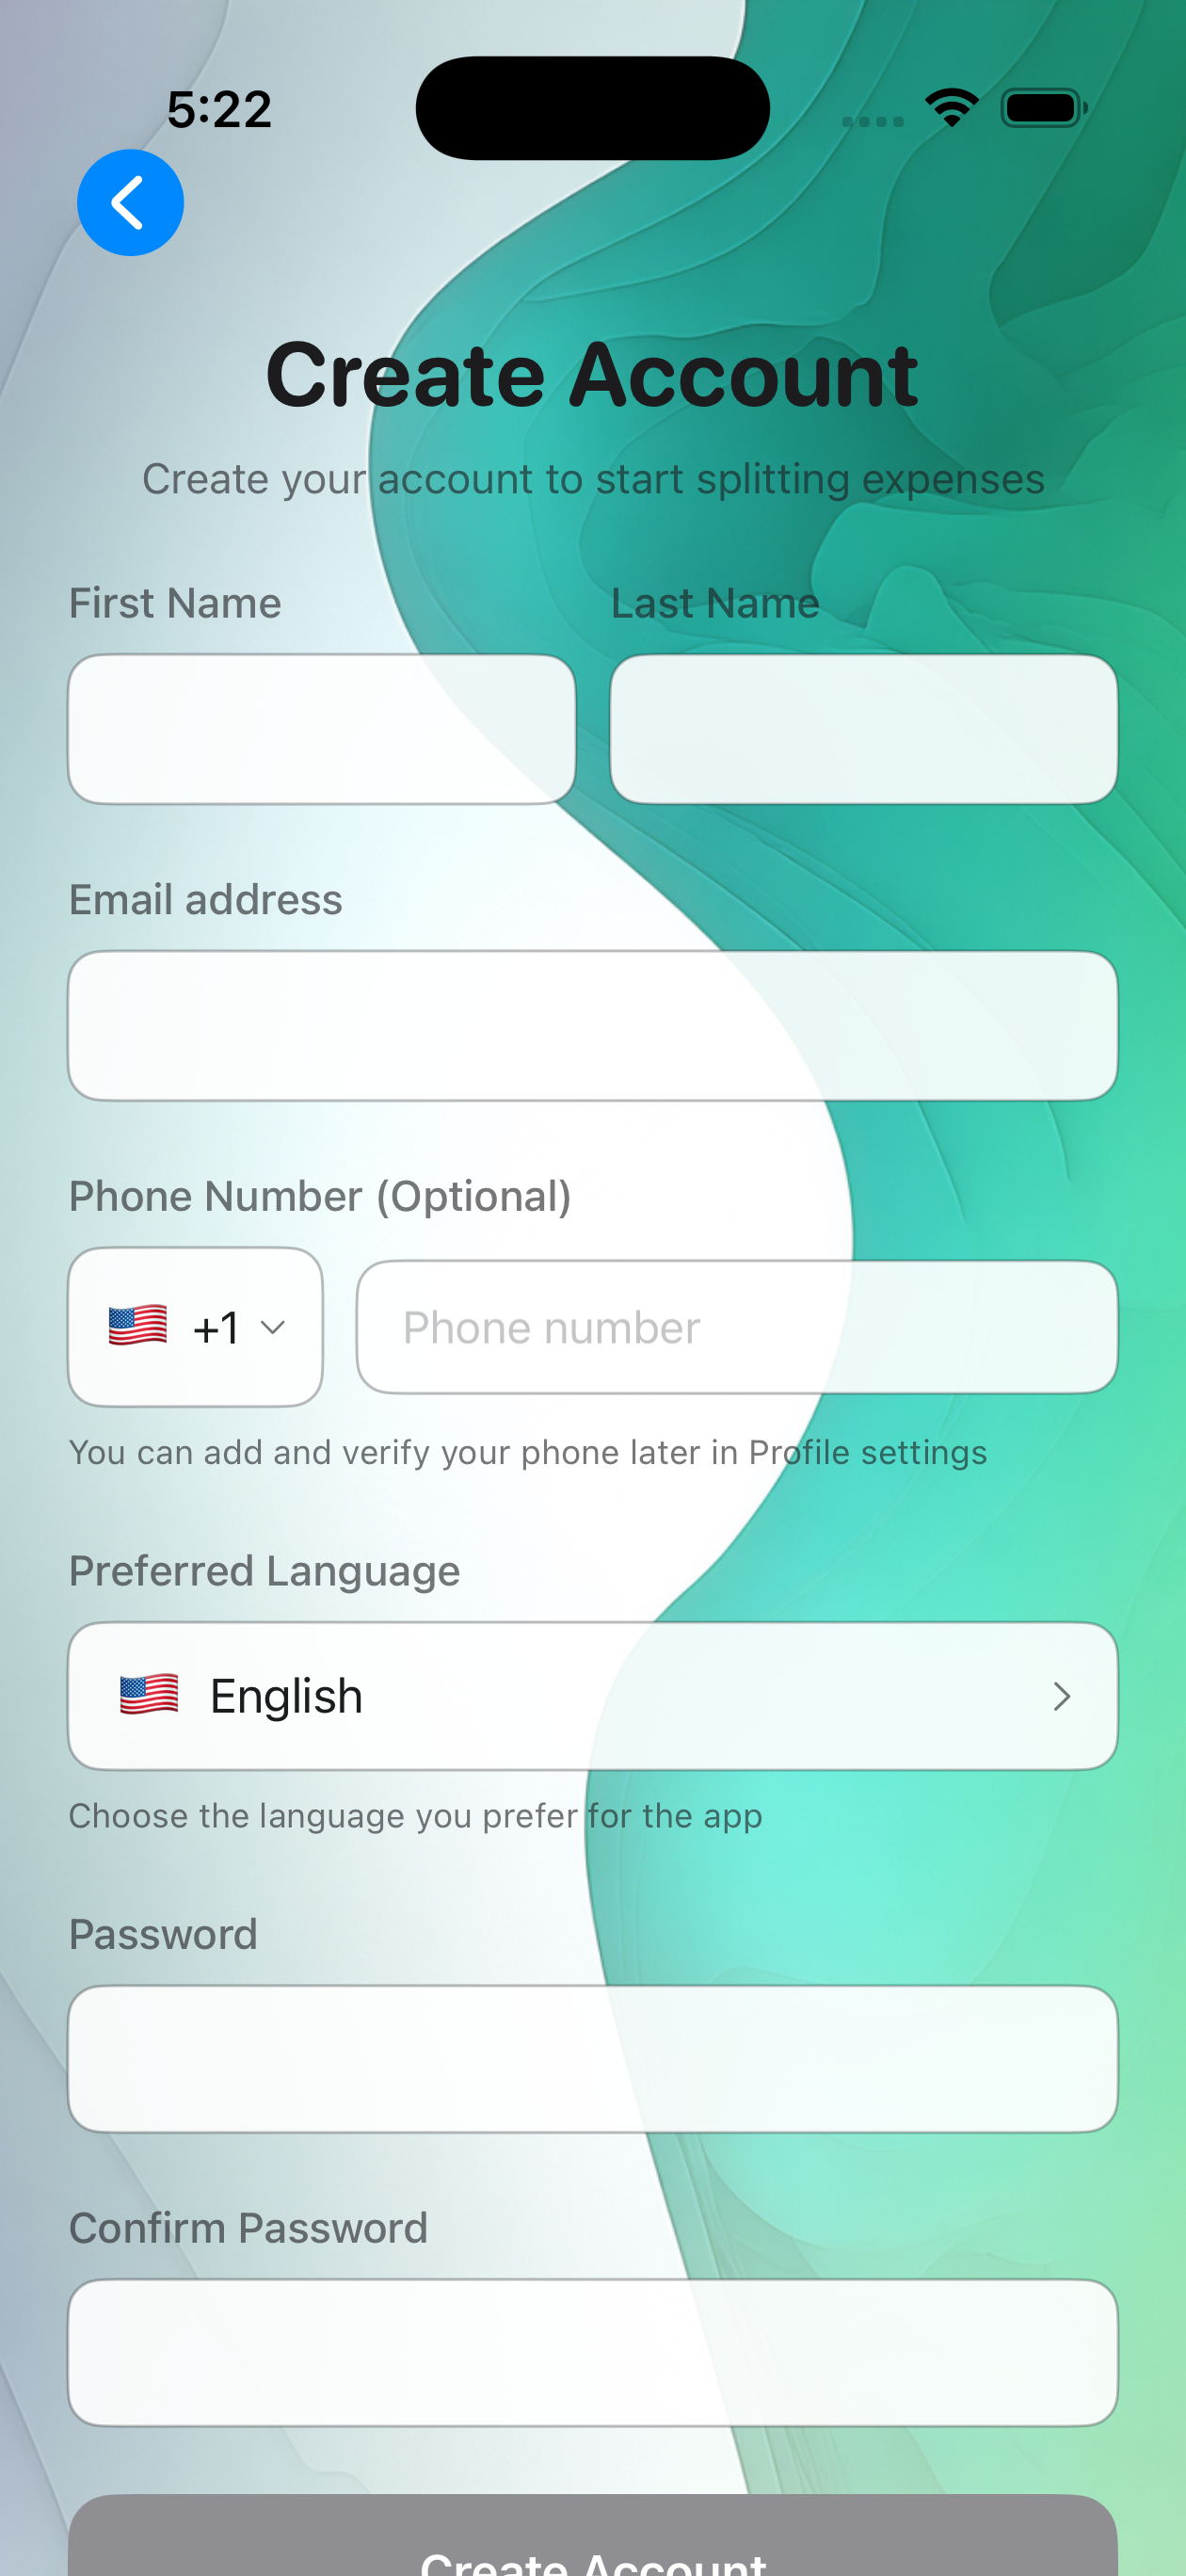
Sign Up
Enter your email, create a password, and add your name. You can optionally choose a username (6-12 characters) or let us generate one for you.
Verify Email
Check your inbox for a verification email and confirm your account.
Quick Start Guide #
Here's how to get up and running in 5 minutes:
- Add a friend – Search by email or username and send a friend request
- Create a group – Tap "+" and create a group (e.g., "Roommates")
- Invite friends – Add your accepted friends to the group
- Add an expense – Record who paid and how to split it
- Settle up – Record payments when debts are settled
When you become friends with someone, a P2P group is automatically created between you two. This lets you track expenses directly with that friend without creating a separate group!
Adding Friends #
Before you can invite someone to a group, you need to be friends with them in Splitorium.
How to Find Friends
You can search for existing Splitorium users by:
- Email address – Their registered email
- Username – Their unique username (case-insensitive)

Email addresses and phone numbers are private in Splitorium. Other users can search for you by email, but they won't see your actual email address displayed anywhere.
Friend Requests #
When you send a friend request, the other person can accept or decline it.
Request States
| State | Description |
|---|---|
| Pending | Waiting for the other person to respond |
| Accepted | You're now friends and can invite each other to groups |
| Declined | The request was declined |
You can only invite accepted friends to groups. Pending friend requests don't count—you must wait for them to accept first.
Direct Expenses (P2P) #
When you become friends with someone, Splitorium automatically creates a P2P (peer-to-peer) group between you. This special group is for tracking expenses directly between the two of you.
P2P Group Characteristics
- Automatically created when friendship is accepted
- Contains exactly 2 people (you and your friend)
- Both users have equal admin permissions
- Cannot add more members or leave the group
- Group name is auto-generated (e.g., "John & Jane")
Use P2P groups for simple one-on-one expenses like splitting lunch or sharing a cab fare!
Creating Groups #
Groups are where the magic happens. Create groups for trips, households, events, or any shared expense scenario.
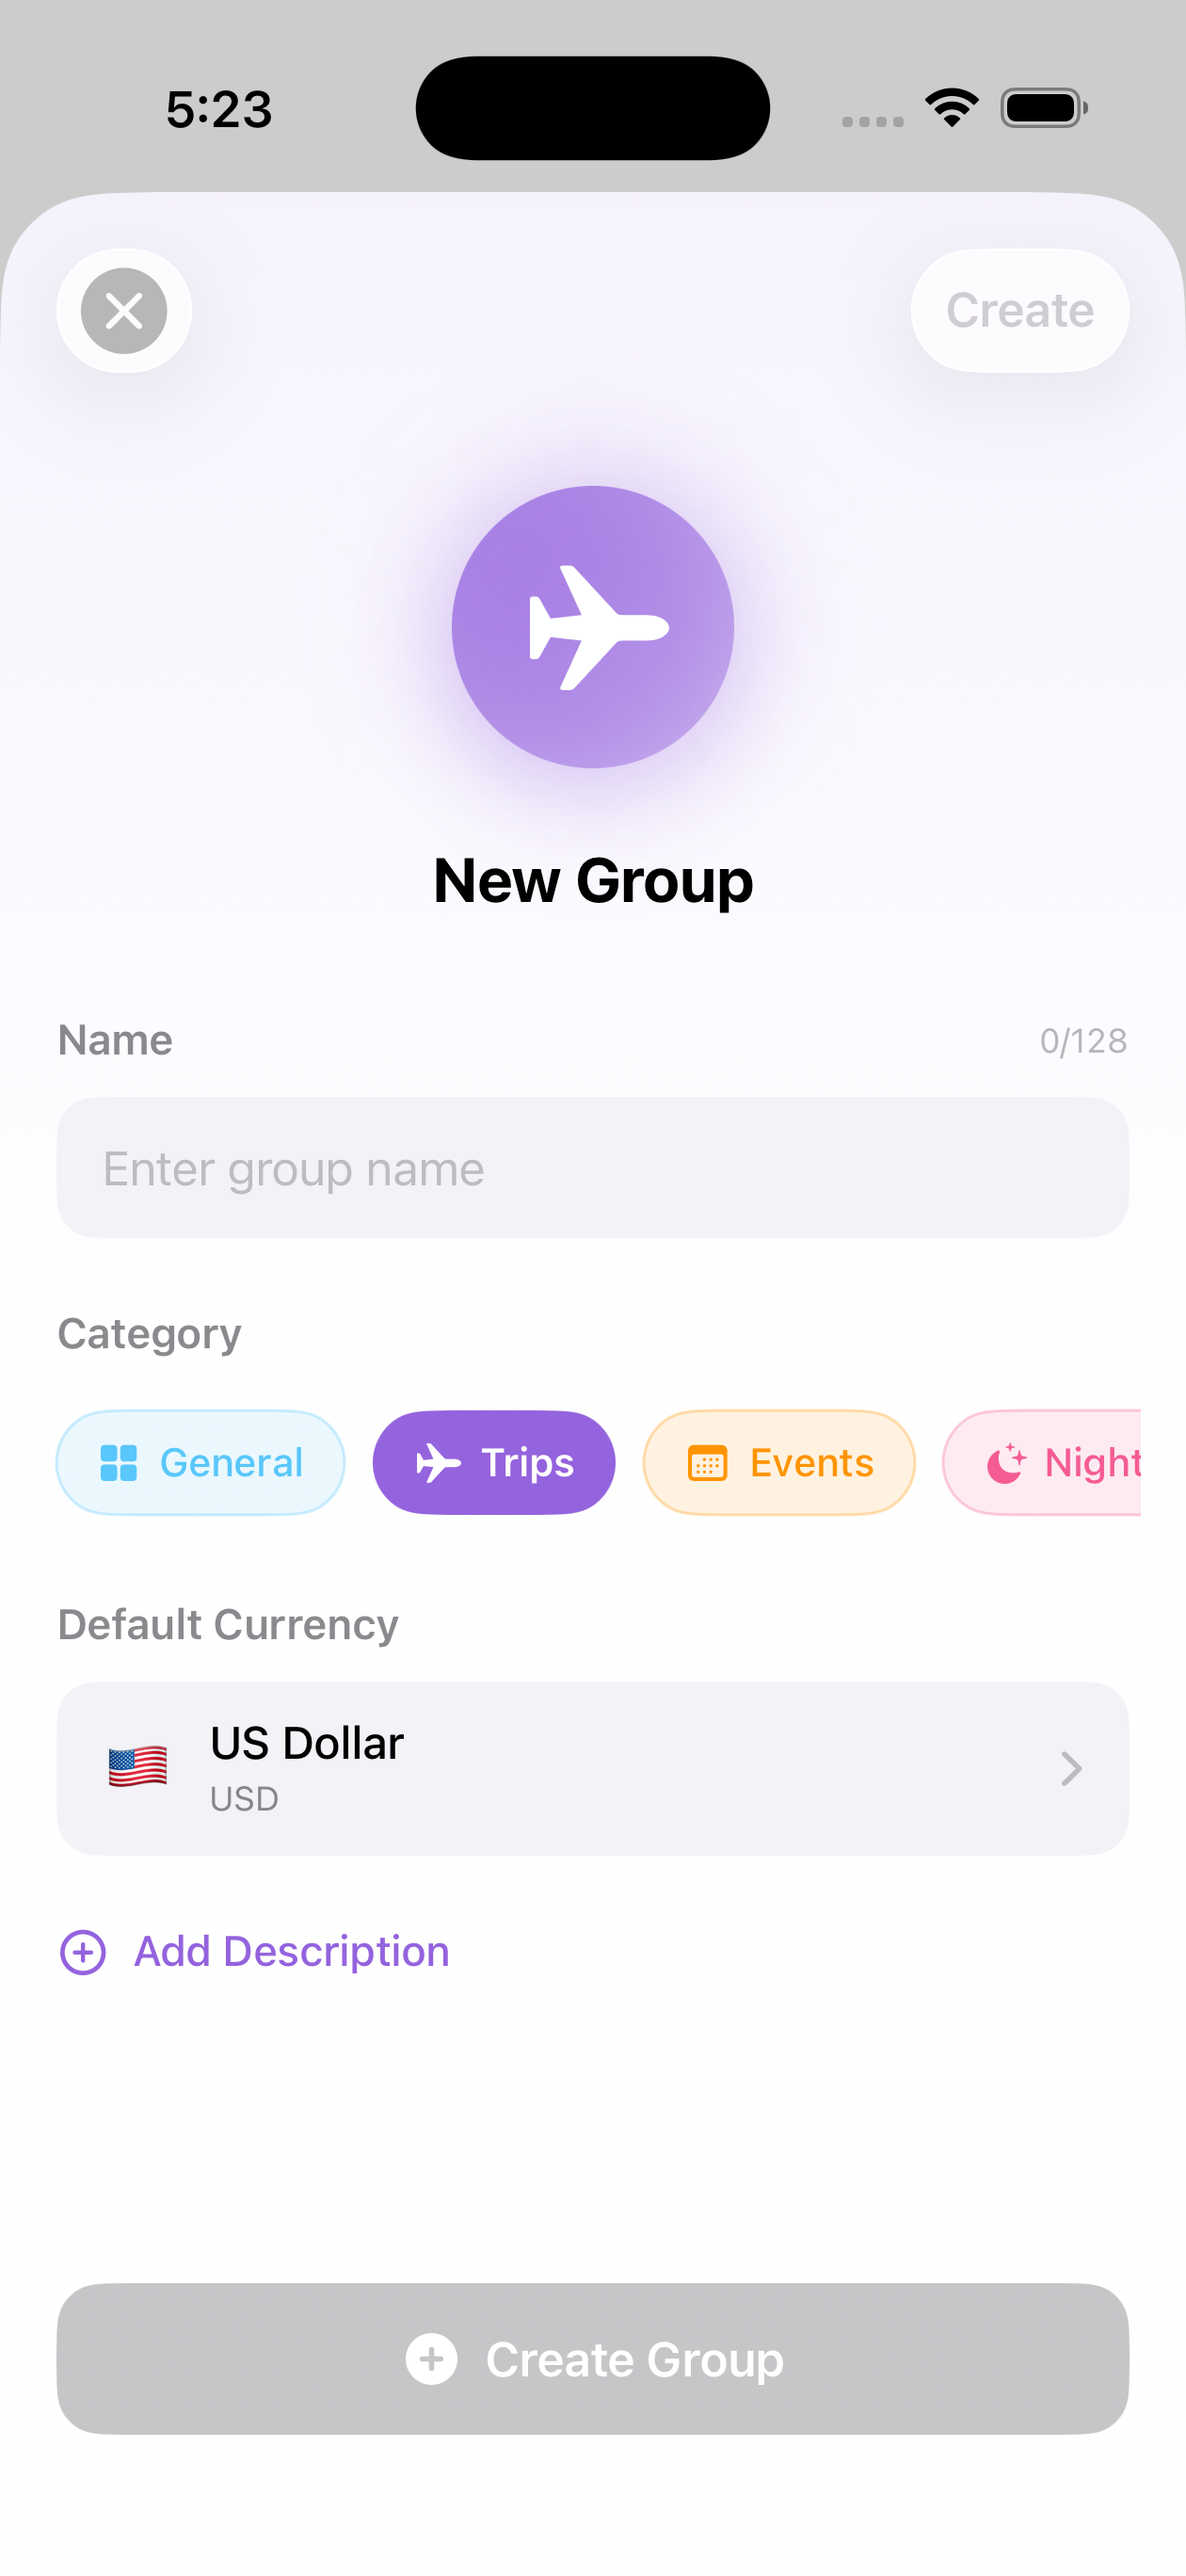
Tap the + Button
From the groups screen, tap the create button.
Name Your Group
Give your group a descriptive name like "Hawaii Trip 2025" or "Apartment 4B".
Choose a Category
Select a category that best describes the group's purpose.
Add Members
Invite your friends to join the group. You can also add virtual users for people without the app.
Roles & Permissions #
Splitorium has three roles for group members, each with different capabilities:
| Role | Can Do |
|---|---|
| Admin | Everything: add/remove members, change roles, edit/delete any expense, manage group settings |
| Member | Add expenses, edit/delete their own expenses, record payments, view everything |
| Viewer | View expenses and balances only (cannot create or edit anything) |
The person who creates the group automatically becomes an Admin. Multiple admins are allowed, and there's no special "owner" – all admins have equal power.
Managing Members #
Adding Members
Admins can add new members to a group. Remember: you can only invite people you're already friends with.
Removing Members
Admins can remove members from the group. When someone is removed:
- Their expense history remains intact
- Outstanding balances are preserved
- They can be re-invited later
Leaving a Group
Any member can leave a group voluntarily. However, there are some restrictions:
You cannot leave a group if you are a payer or participant on an active recurring expense. You'll need to edit the recurring expense first to remove yourself.
Categories #
Choose a category that best describes your group's purpose. This helps with organization and provides relevant visual theming:
- General – Default category for mixed purposes
- Trips – Vacations, road trips, travel
- Dining – Restaurants, meals, food outings
- Utilities – Bills, rent, shared household expenses
- Entertainment – Movies, concerts, events
- Groceries – Food shopping, household supplies
- Transportation – Rides, gas, parking
What Are Virtual Users? #
Virtual users are placeholders for people who don't have the Splitorium app. They allow you to track expenses for everyone, even if not everyone wants to install the app.
🎭 Perfect For
- Friends who don't want to create an account
- One-time trip companions
- Kids or elderly family members
- Anyone you want to include in expense splits
Adding Virtual Users #
Only group admins can create virtual users within a group.
Go to Group Settings
Open the group and navigate to member management.
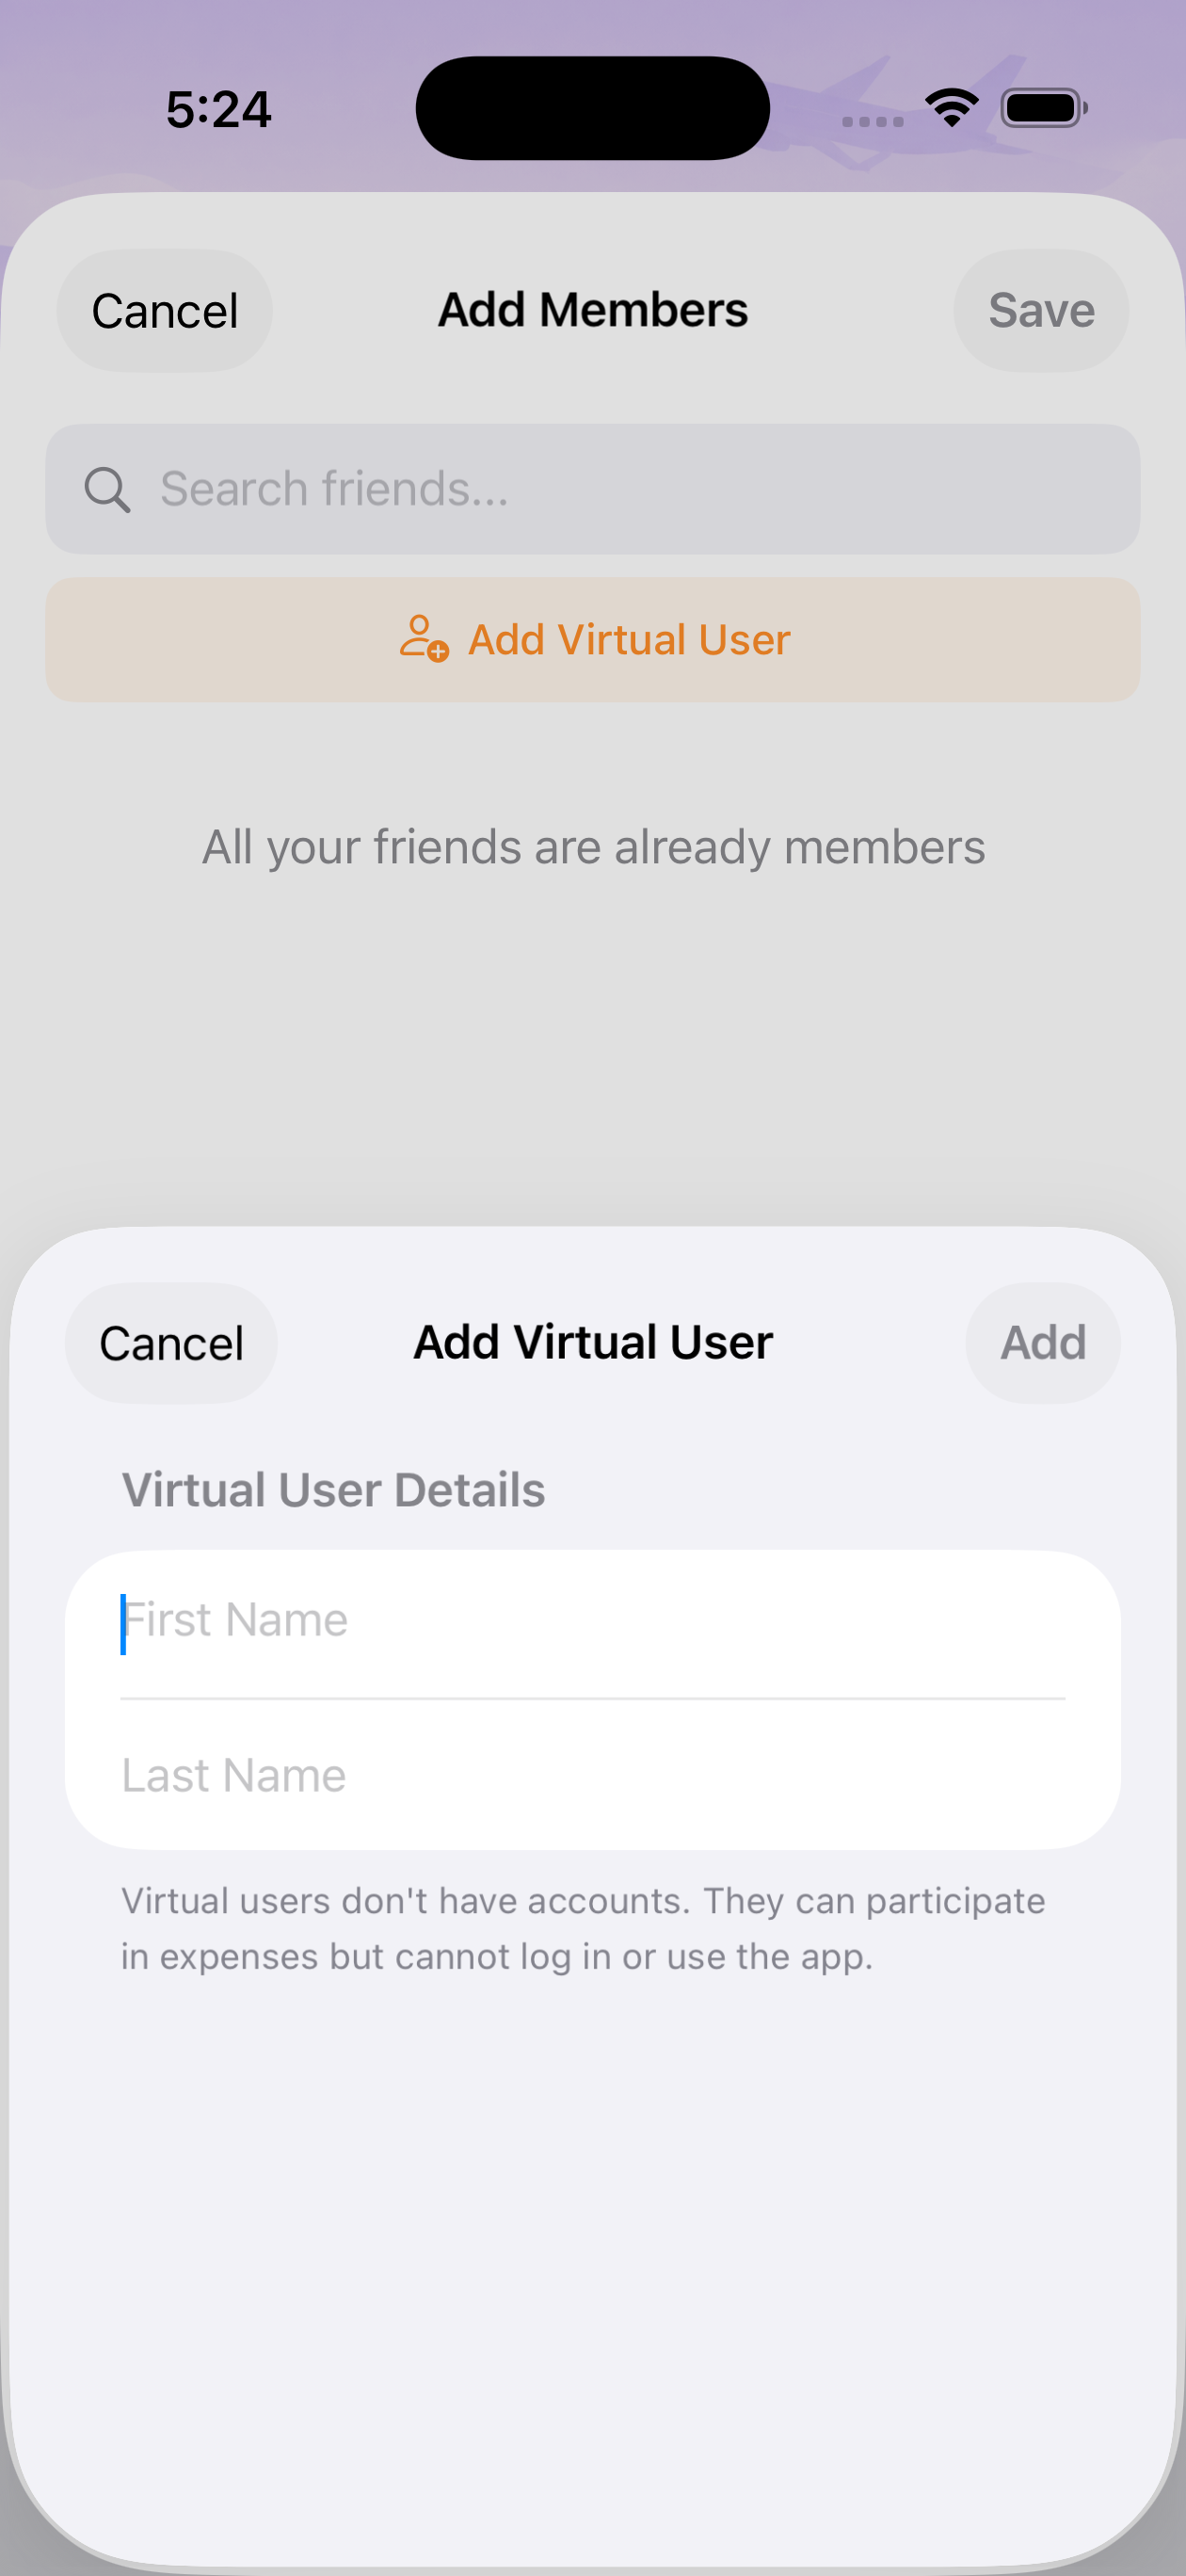
Add Virtual User
Choose "Add Virtual User" and enter their first and last name.
Done!
The virtual user appears in the group and can be included in expenses.
Virtual User Limitations #
Virtual users have some restrictions to be aware of:
| ✅ Can Do | ❌ Cannot Do |
|---|---|
| Be expense payers | Log in or use the app |
| Be expense participants | Have friendships |
| Have balances calculated | Be in multiple groups |
| Appear in group member lists | Be family responsible party |
| Be assigned to list items | Be added to P2P groups |
Virtual users belong to one group only. If you need the same person in multiple groups, you'll need to create separate virtual users.
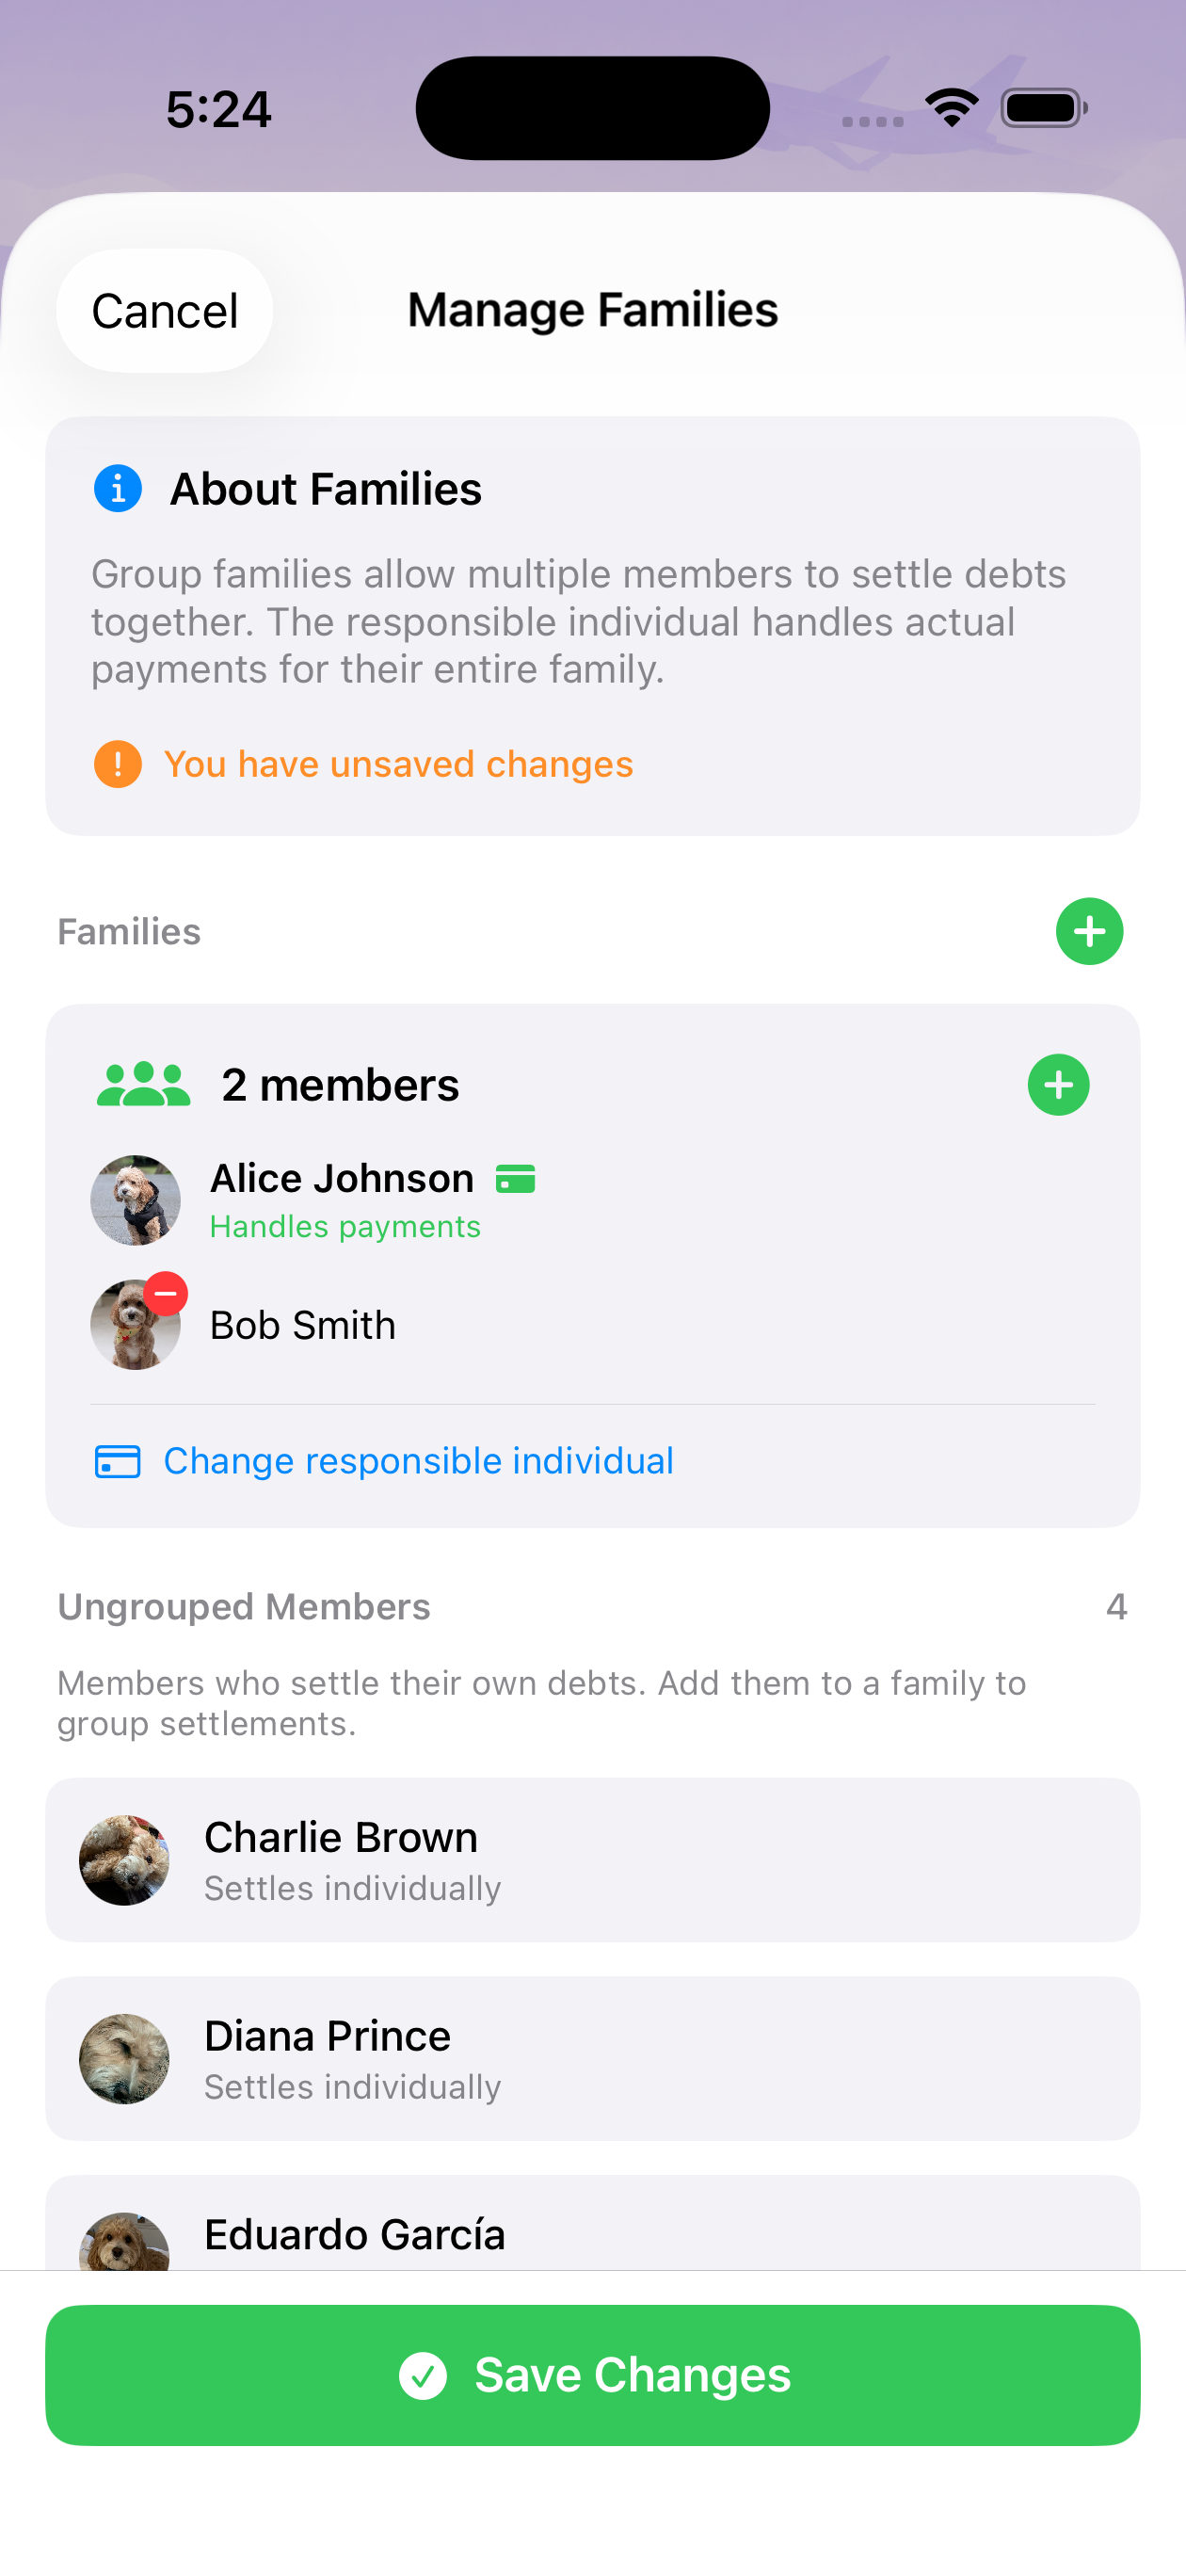
Understanding Families #
Families are a powerful feature that lets group members organize into family units for simplified debt settlement. Within a family, one person is designated as the "responsible party" who handles all payments on behalf of family members.
🏠 When to Use Families
- Couple splitting with friends – One partner handles all the couple's payments
- Parent with children – Parent pays for the whole family
- Roommates with shared bank account – One person manages the joint expenses
How Families Work
Every group member starts as their own "family of one." Admins can then organize members into families. Here's a key concept to understand:
- Individual balances are still tracked – Each person's expenses are recorded separately
- Family balances are displayed – The UI shows aggregated family-to-family debts
- One person settles for all – The responsible party pays/receives on behalf of the family
Setting Up Families #
Only group admins can create and modify family structures.
Go to Family Settings
Open the group and navigate to family management.
Add Members to a Family
Drag and drop members to organize them into family groups.
Set Responsible Party
Choose who will handle payments for the family. This must be a real user (not a virtual user).
Family Balances #
When families are configured, the balance display changes from individual debts to family-to-family debts.
Example
Without families:
- Alice owes Eve: $40
- Bob owes Eve: $10
- Charlie owes David: $20
With families (Alice, Bob, Charlie in one family; David, Eve in another):
- Alice's Family owes David's Family: $70
Important: If you are a family member but NOT the responsible party, you will not see your individual balance on the Overview page. This is because your responsible party handles settlements on your behalf.
Responsible Party #
The responsible party is the family member who actually sends and receives payments.
Responsible Party Rules
- Must be a real user – Virtual users cannot be responsible parties
- Cannot be moved – Must transfer responsibility before moving to another family
- Cannot leave group – Must transfer responsibility first
- Handles all family settlements – When settling, the responsible party pays for everyone
When you record a family settlement, you can still see the breakdown of individual debts that were settled in that single payment.
Adding Expenses #
Adding an expense in Splitorium is straightforward. Here's what you need to specify:
| Field | Required | Description |
|---|---|---|
| Description | Yes | What the expense was for (e.g., "Dinner at Olive Garden") |
| Amount | Yes | Total cost of the expense |
| Paid By | Yes | Who actually paid the bill |
| Currency | Yes | Currency of the expense (defaults to group currency) |
| Split Type | Yes | How to divide the expense |
| Category | No | Optional categorization |
| Notes | No | Additional details or context |

Split Types #
Splitorium offers five ways to split an expense:
0. Default Split
If your group has a default split configured, this option appears first and is pre-selected. Uses the group's saved splitting template.
Example: Use the 60/40 split your roommates always use
1. Even Split
The default option. Divides the expense equally among all selected participants.
Example: $90 dinner split evenly among 3 people = $30 each
2. Percentage Split
Assign specific percentages to each participant. Percentages must total exactly 100%.
Example: $100 rent split 60% Alice, 40% Bob = $60 and $40
3. Weighted Shares
Use ratios when exact percentages are awkward. Great for unequal portions.
Example: $80 pizza where Alice had 2 slices and Bob had 6 slices → weights 2 and 6 = $20 and $60
4. Exact Amounts
Specify exactly how much each person owes. Amounts must equal the total expense.
Example: $87.50 groceries → Alice $25, Bob $30.50, Charlie $32
Excluding participants: Simply don't select them when choosing who to split with. You can exclude anyone, even the person who paid!
Default Splits #
Default Splits let you save a splitting template for your group. Instead of configuring participants and percentages for every expense, set it once and reuse it automatically.
⚙️ Perfect For
- Roommates with fixed ratios – One person pays 60%, another 40%
- Families with weighted shares – Adults pay 2 shares, kids pay 1 share
- Any consistent splitting pattern – Set it once, use forever
Setting Up a Default Split
Only group admins can configure default splits.
Go to Group Settings
Open the group and navigate to settings.
Find Default Split
Tap on "Default Split" in the settings section.
Configure Distribution
Choose between Percentage (must sum to 100%) or Weighted Shares (any positive numbers).
Set Participant Values
Assign a value to each participant. Non-included members will have 0% or 0 shares.
Using Default Split in Expenses
When you create a new expense in a group with a default split configured:
- "Default" is pre-selected as the split type
- Participants and values are shown in a read-only preview
- You can override by selecting any other split type (Even, Percentage, etc.)
Default split works in both regular groups AND P2P (friend) groups. For friends, access it through the settings icon on the friend detail page.
Important Rules
| Rule | Details |
|---|---|
| Minimum 2 participants | At least 2 people must be included in the split |
| Viewers excluded | Users with "Viewer" role cannot be default split participants |
| Blocking rules | Members in a default split cannot be removed or demoted to viewer until removed from the split first |
| Independent expenses | Expenses store their own values—editing the default split doesn't change past expenses |
If you try to remove a member or change their role to viewer while they're part of a default split, you'll see a friendly error message asking you to update the default split first.
Expense Categories #
Categorize expenses to keep things organized:
- 🍽️ Dining – Restaurants, cafes, food delivery
- 🚗 Transportation – Gas, parking, rideshares, tolls
- 🎬 Entertainment – Movies, concerts, games
- 💡 Utilities – Electric, water, internet, rent
- 🛒 Groceries – Supermarket, household items
- ✈️ Travel – Hotels, flights, trip expenses
- 📦 General – Everything else
Editing & Deleting #
Who Can Edit
- Admins – Can edit or delete any expense in the group
- Members – Can only edit or delete expenses they created
- Viewers – Cannot edit or delete anything
What Gets Preserved
Splitorium keeps a complete audit trail. When you edit or delete an expense:
- The change is recorded with a timestamp
- Your user ID is associated with the change
- Deleted expenses are "soft deleted" – the data remains for history
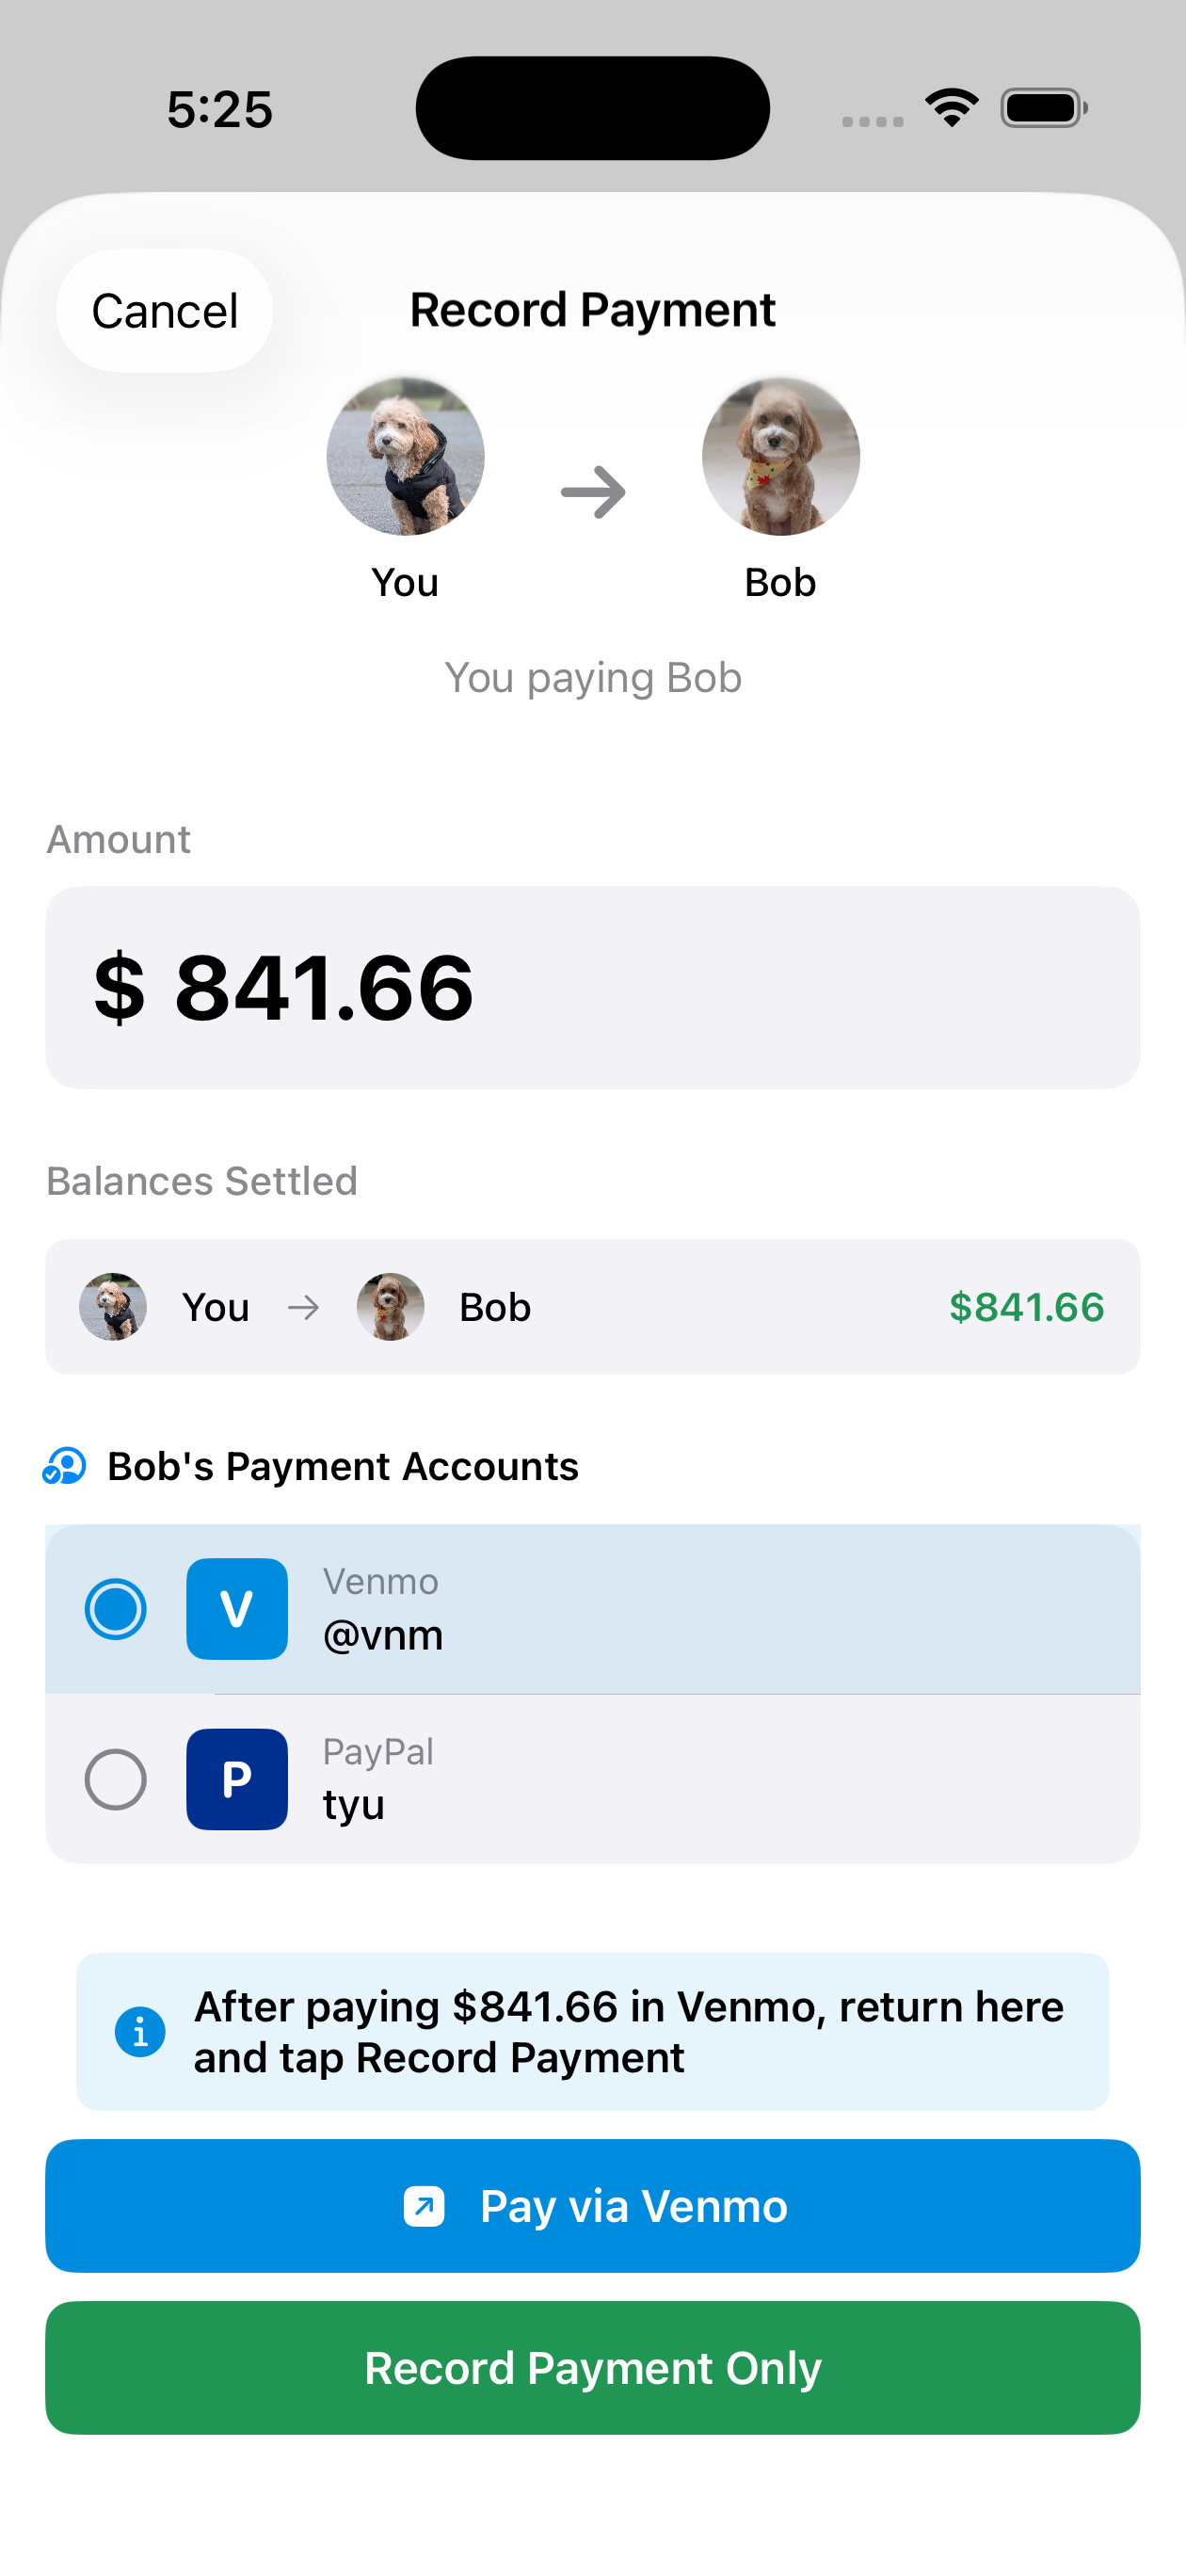
Recording Payments #
When someone pays back what they owe, record it in Splitorium to update balances.
Splitorium does not transfer actual money. We just track that a payment occurred. You still use Venmo, PayPal, cash, or any other method to actually send the money.
Tap "Settle Up" or Record Payment
Find the option in the group's balance or expense view.
Select Payer and Payee
Choose who paid and who received the payment.
Enter Amount and Method
Specify how much was paid and through which payment method.
Payment Methods #
Track which payment method was used for each settlement:
- 💵 Cash – Physical cash payment
- 📱 Venmo – Venmo digital payment
- 💳 PayPal – PayPal transfer
- 🏦 Zelle – Bank transfer via Zelle
- 💚 Cash App – Square Cash App
- 🍎 Apple Pay – Apple Pay transfer
- 📝 Other – Any other method
Payment Handles #
Save your Venmo and PayPal handles in your profile so friends know how to pay you!
Setting Up Payment Handles
- Go to your Profile settings
- Find Payment Preferences
- Add your Venmo handle (e.g., @johndoe)
- Add your PayPal handle (email or username)
When someone owes you money, they can see your payment handles and easily send you money through your preferred app!
Setting Up Recurring Expenses #
For expenses that happen regularly (rent, subscriptions, utilities), set up recurring expenses to automatically create them on schedule.
Create Recurring Expense
Similar to a regular expense, but choose "Make Recurring".
Choose Frequency
Select how often: daily, weekly, biweekly, monthly, or yearly.
Set Day/Time
Pick when the expense should be generated (e.g., 1st of each month).
Apply Immediately (Optional)
Toggle on to create the first expense right now.

Frequencies #
| Frequency | Example Use Case | Settings Needed |
|---|---|---|
| Daily | Daily parking fee | Time of day |
| Weekly | Weekly cleaning service | Day of week, time |
| Biweekly | Bi-weekly payroll deduction | Day of week, time |
| Monthly | Rent, utilities, subscriptions | Day of month (1-29) OR "last day" |
| Yearly | Annual insurance premium | Month and day, time |
Monthly tip: If you select "Last Day of Month", the expense will be created on the 28th, 29th, 30th, or 31st depending on the month. Days 30-31 can't be selected directly for monthly expenses – use "Last Day" instead.
Managing Recurring Expenses #
Editing
When you edit a recurring expense, changes apply to future generated expenses only. Past expenses remain unchanged.
Deleting
Deleting a recurring expense stops future generation. Previously generated expenses remain in your history.
Group membership restriction: You cannot leave a group if you are the payer or a participant on an active recurring expense. Edit or delete the recurring expense first, then you can leave.
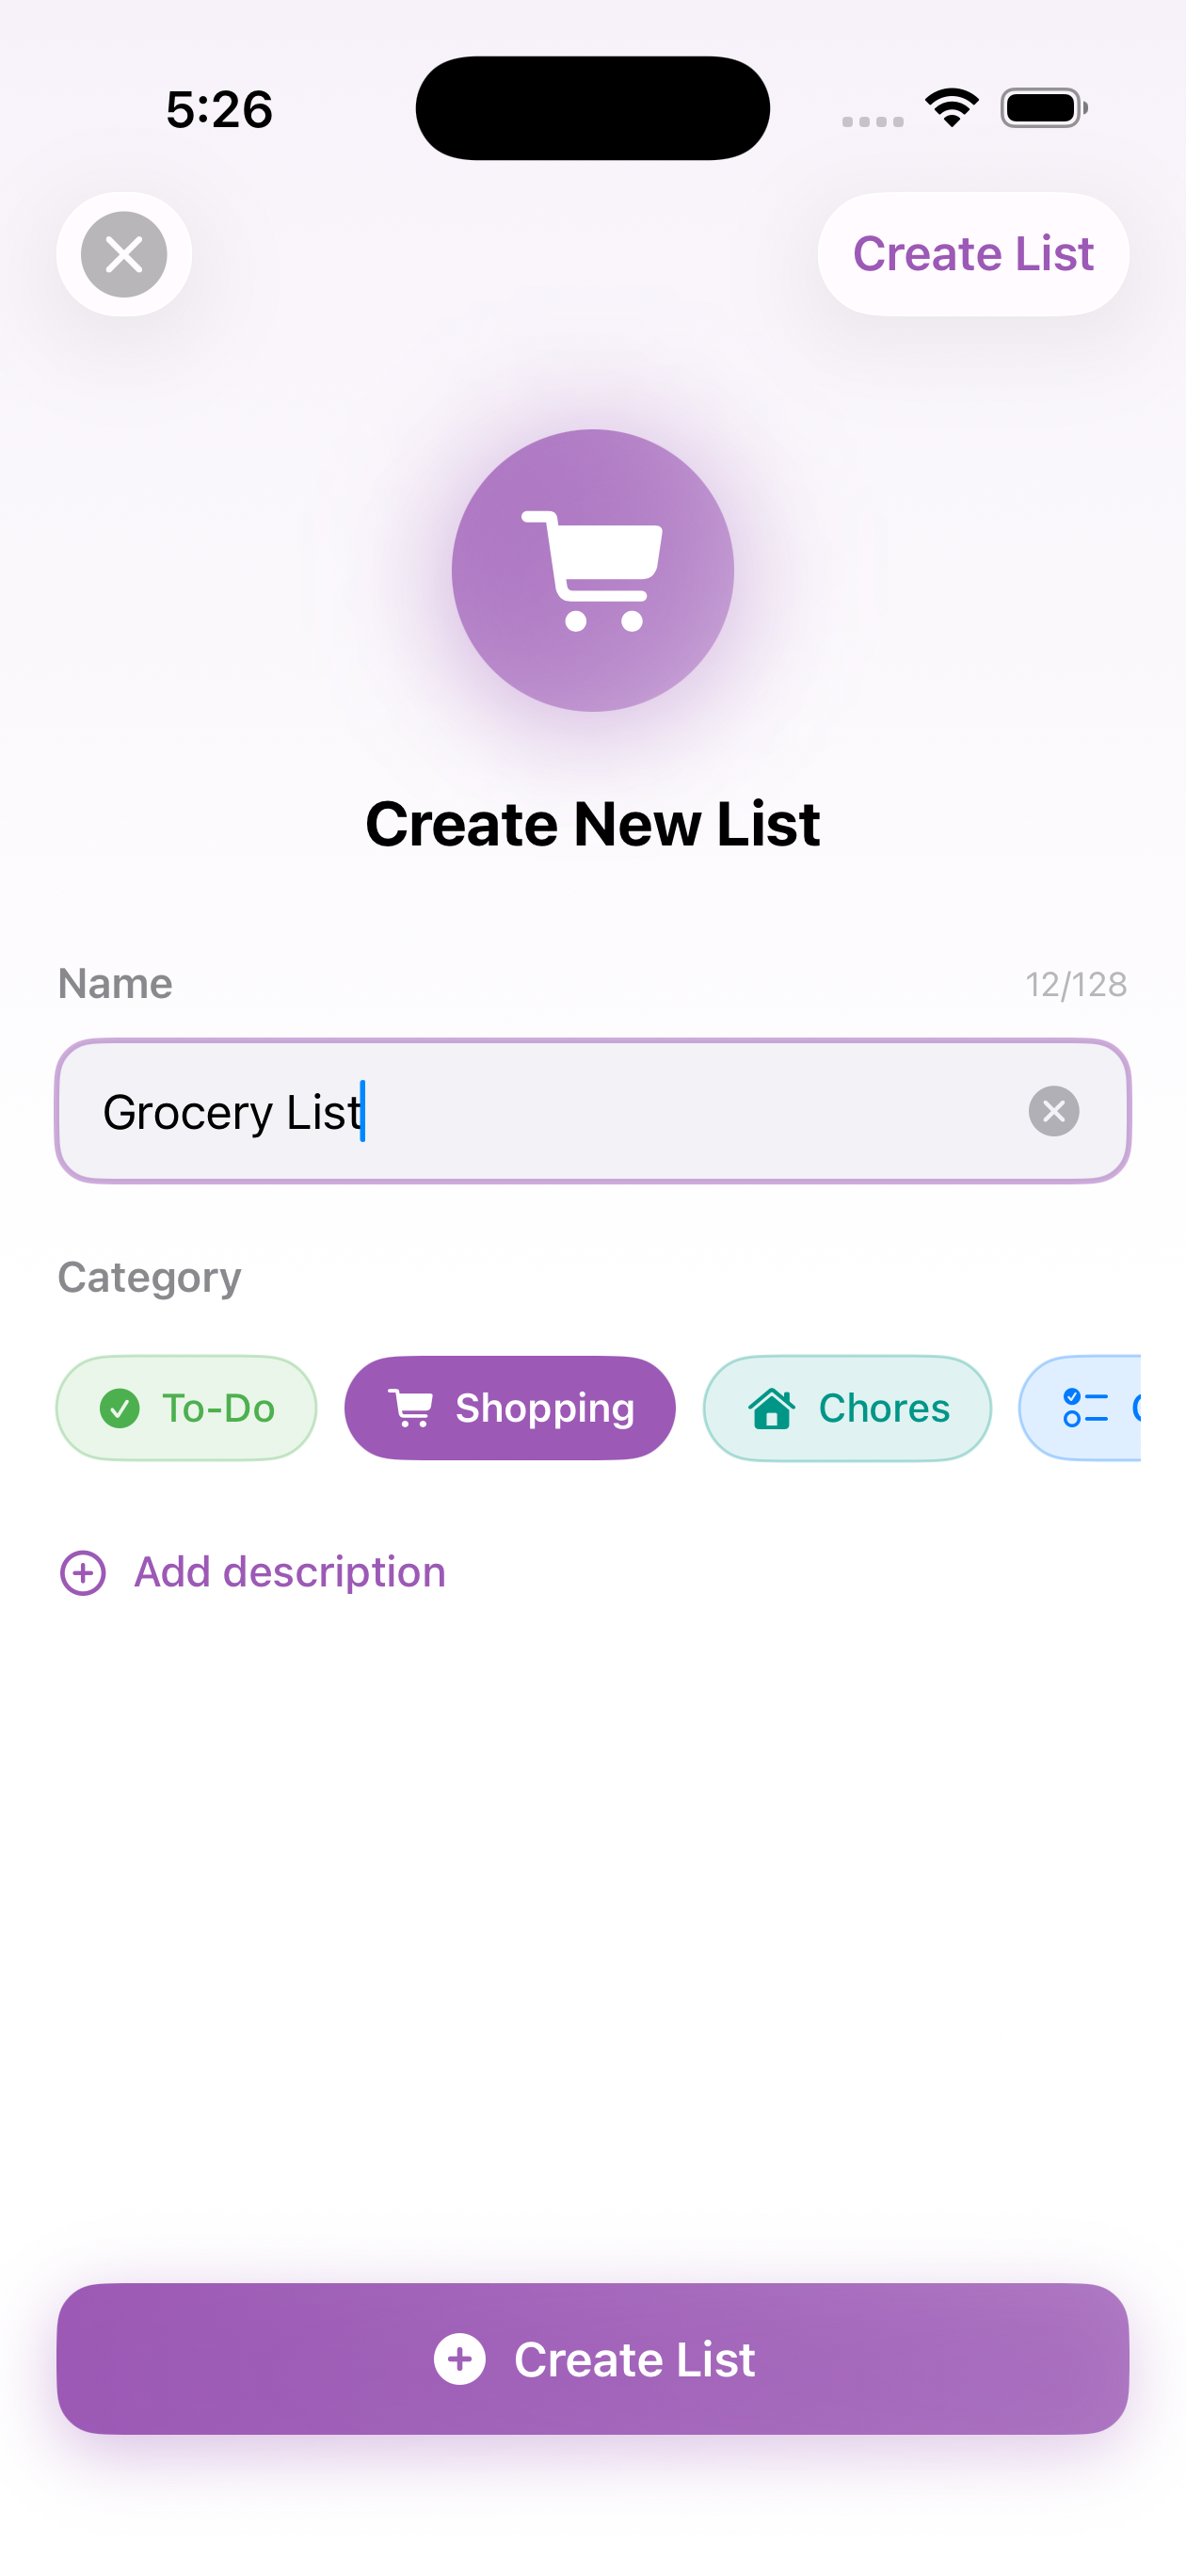
Creating Lists #
Lists let you collaborate on shared todo items, shopping lists, packing lists, and more—right within your groups.
Open the Lists Tab
Navigate to the Lists section within your group.
Create a New List
Give it a name like "Grocery List" or "Trip Packing".
Choose a Category
Pick from shopping, packing, todo, activities, and more.
List Categories
- 🛒 Shopping – Groceries and supplies to buy
- 🧳 Packing – What to bring on a trip
- ✅ Todo – Tasks to complete
- 📝 Preparation – Things to do before (book hotels, etc.)
- 🎯 Activities – Places to visit, things to do
- 🍕 Food & Drinks – Restaurants, recipes, meal planning
- ⚙️ Gear – Equipment needed
- 🎁 Gifts – Gift ideas
- 🧹 Chores – Household tasks
Adding Items #
Each list item can have:
- Title – What the item is (required)
- Description – Additional details
- Assignee – Who's responsible for this item
- Due Date – When it should be done
- Priority – Low, Medium, or High
You can drag and drop items to reorder them! The app uses smart positioning so only the moved item updates – not everything else.
Assigning & Completing #
Assigning Items
Assign items to any group member (including virtual users!) to clarify who's responsible.
Completing Items
Anyone with Member or Admin role can check off items. When you complete an item:
- The completion time is recorded
- Your name is recorded as the completer
- If someone else was assigned, they'll see that you helped out!
Viewers can see lists but cannot create items, assign items, or mark them complete.
Understanding Balances #
Splitorium calculates balances using a simple formula:
📊 Balance Calculation
Net Balance = (What you owe from expenses) - (Payments you've made) + (Payments you've received)
- Positive balance → You OWE money
- Negative balance → You are OWED money
- Zero balance → You're settled up!
How Expense Balances Work
When an expense is created, each participant's share is calculated. The payer gets credit for paying the whole amount.
Example: $60 dinner, Alice pays, split evenly with Bob and Charlie
- Alice paid $60, owes $20 → balance: -$40 (is owed $40)
- Bob paid $0, owes $20 → balance: +$20 (owes $20)
- Charlie paid $0, owes $20 → balance: +$20 (owes $20)
Debt Simplification #
Splitorium can simplify debts to minimize the number of payments needed to settle up.
Without Simplification
Shows all individual debts:
- Alice owes Bob: $30
- Bob owes Charlie: $25
- Charlie owes Alice: $15
With Simplification
Calculates optimal settlements:
- Alice owes Bob: $15
- Charlie owes Bob: $10
(2 payments instead of 3!)
Group admins can toggle debt simplification on or off in Group Settings. It's on by default.
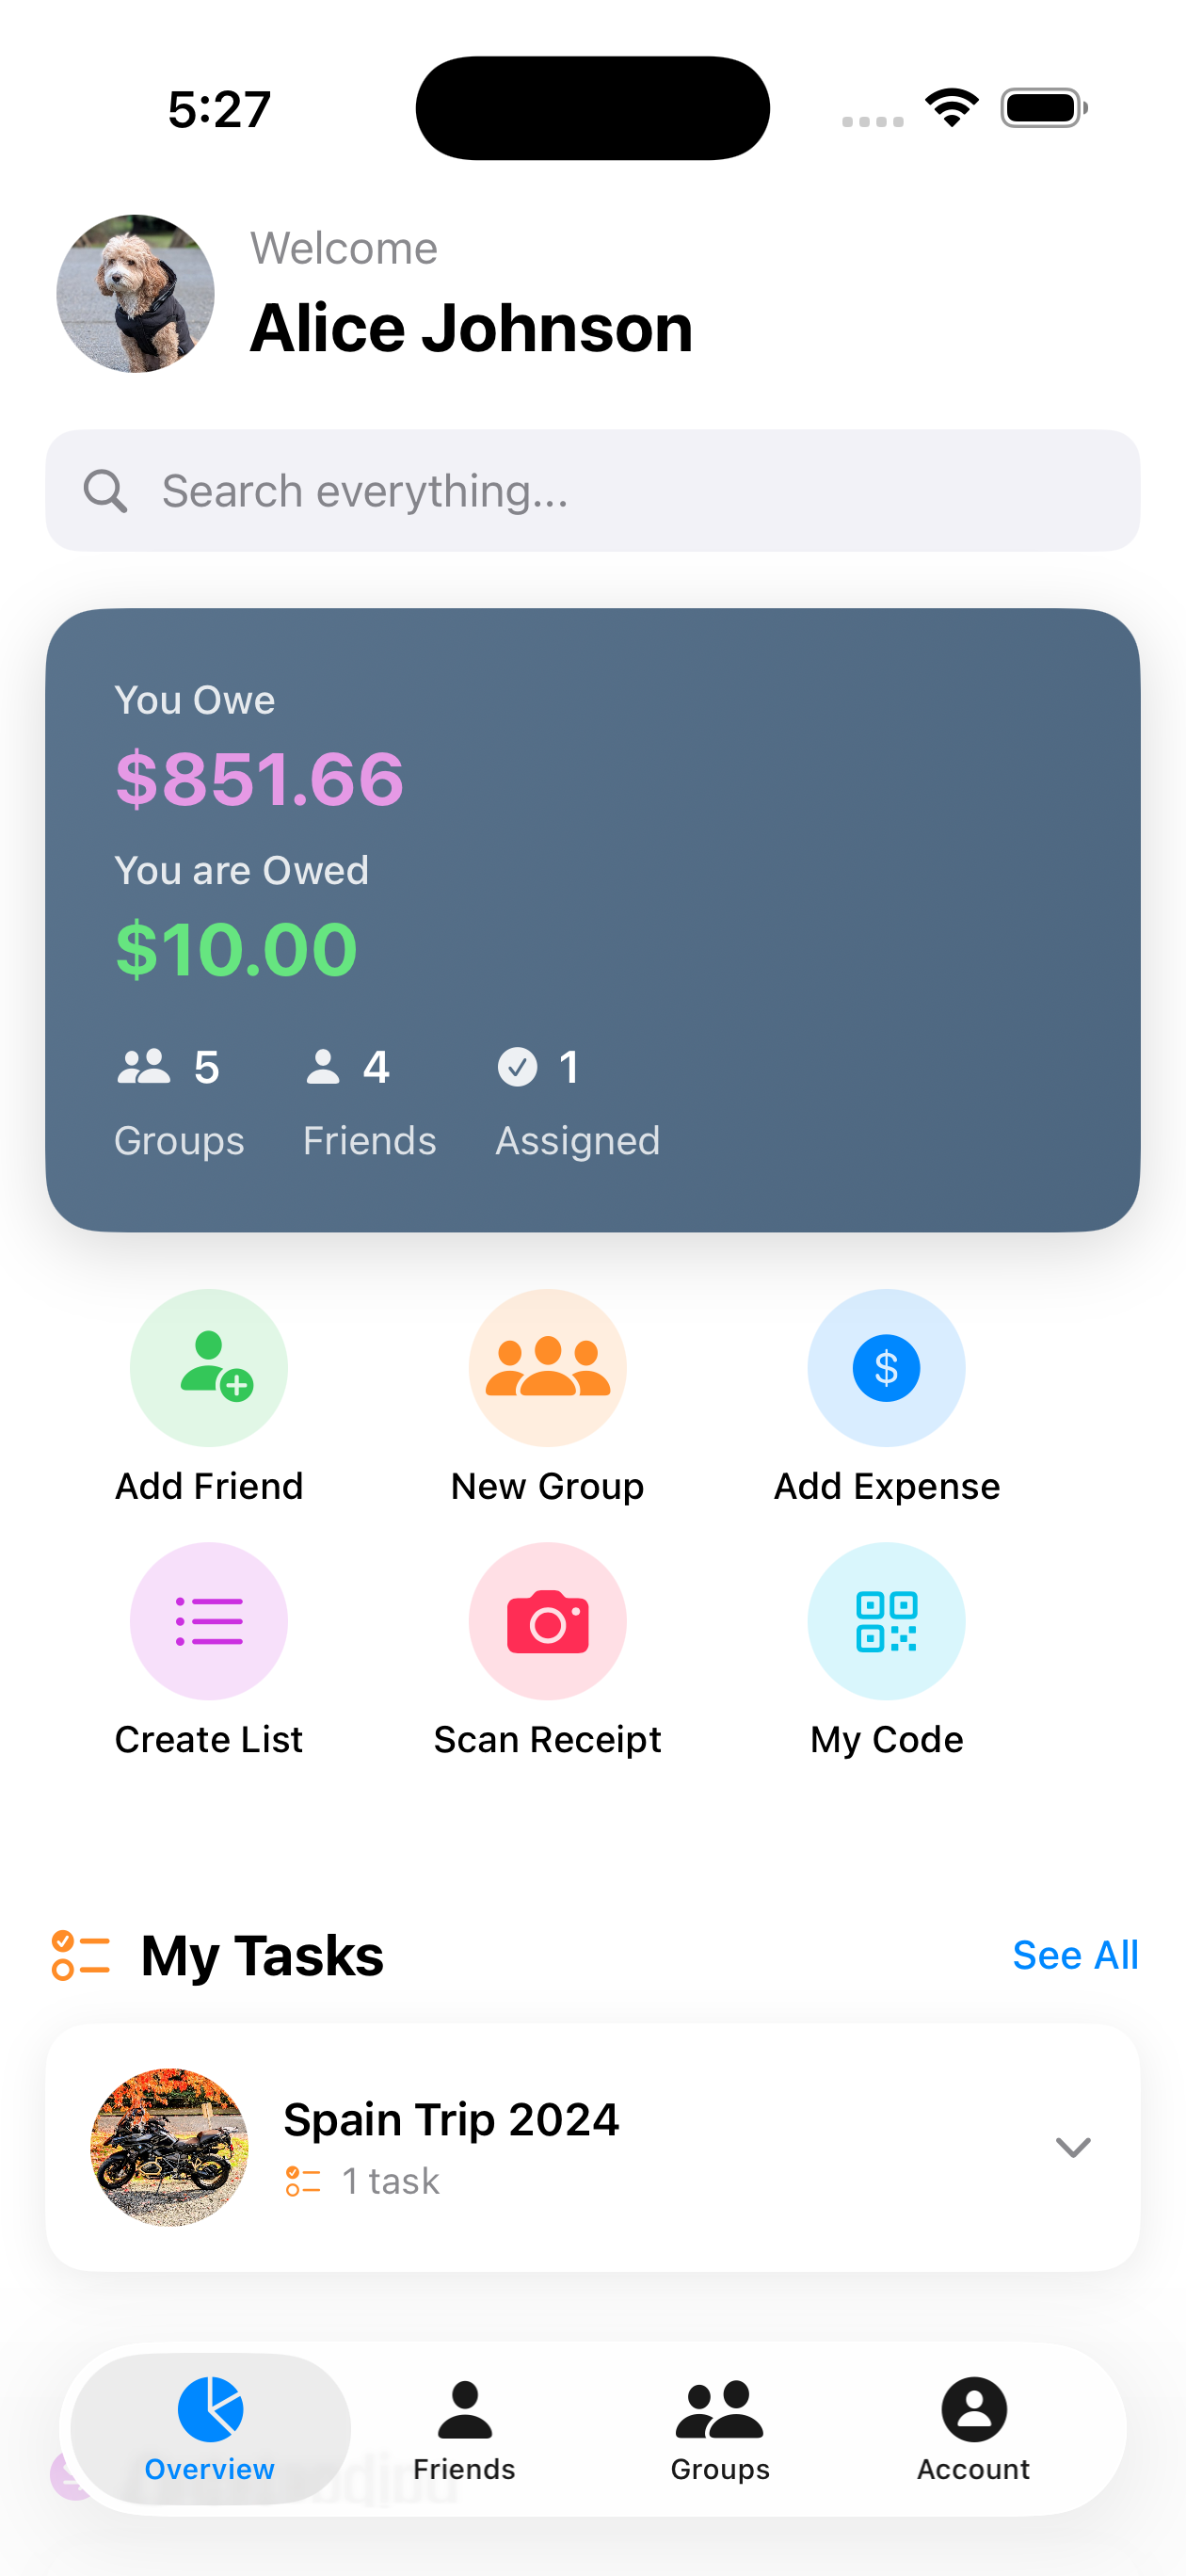
Overview Page #
The Overview page shows your total financial position across all groups and friends.
What You'll See
- Total you owe – Sum of all positive balances
- Total you're owed – Sum of all negative balances
- Net position – Overall: owe or owed?
- Per-group breakdown – Your balance in each group
Family members: If you're part of a family and NOT the responsible party, your individual balance won't appear on the Overview page. Your responsible party sees and handles the combined family balance instead.
Multi-Currency Support #
Splitorium supports all 150+ world currencies. Each expense can use a different currency, and balances are tracked separately per currency.
How It Works
- User preference – Set your default currency in settings
- Group default – Groups inherit the creator's currency preference
- Per-expense override – Change currency when adding any expense
Separate Balance Sheets
If your group has expenses in both USD and EUR, you'll see two separate balances:
- You owe $45 USD
- You're owed €20 EUR
Want to settle everything in one currency? Use Currency Conversion to convert all expenses in a group to a single currency.
Currency Conversion #
After a trip or when it's time to settle up, group admins can convert all expenses and payments from one currency to another so that everyone can settle balances in a single currency.
How to Convert
- Open the group and go to Group Settings
- Tap Convert Currency
- Select the source currency (e.g. the foreign currency used during the trip)
- Select the target currency (e.g. your home currency)
- Enter or accept the suggested exchange rate, then tap Convert
What Happens
- All expenses and payments in the source currency are updated to the target currency for everyone in the group
- Participant shares and balances are recalculated at the new rate
- A market exchange rate is fetched automatically as a starting point, but you can override it with your own rate
Original Amounts Are Preserved
Splitorium keeps a full record of what each expense was before conversion. For any converted expense, you can view:
- The original amount and currency
- The exchange rate that was used
- When the conversion happened and who performed it
- The original participant shares before conversion
Currency conversion is a group admin action. Members and viewers can see the option but cannot perform conversions. If an expense is edited after conversion, the stored original pre-conversion data will no longer reflect the current values.
Offline Mode #
Splitorium is designed offline-first. This means you can use the app without internet, and everything syncs when you're back online.
What Works Offline
- ✅ View all groups, expenses, and balances
- ✅ Add new expenses
- ✅ Edit or delete expenses
- ✅ Record payments
- ✅ Manage lists and items
What Requires Internet
- ❌ Initial sign-up and login
- ❌ Sending friend requests
- ❌ Adding new group members
- ❌ Creating virtual users
How Sync Works
Changes made offline are queued and automatically sent to the server when you reconnect. If there are conflicts (e.g., two people edited the same expense), you'll be notified to resolve them.
The app shows a subtle indicator if you have pending changes waiting to sync. Everything "just works" – you don't need to manage sync manually!
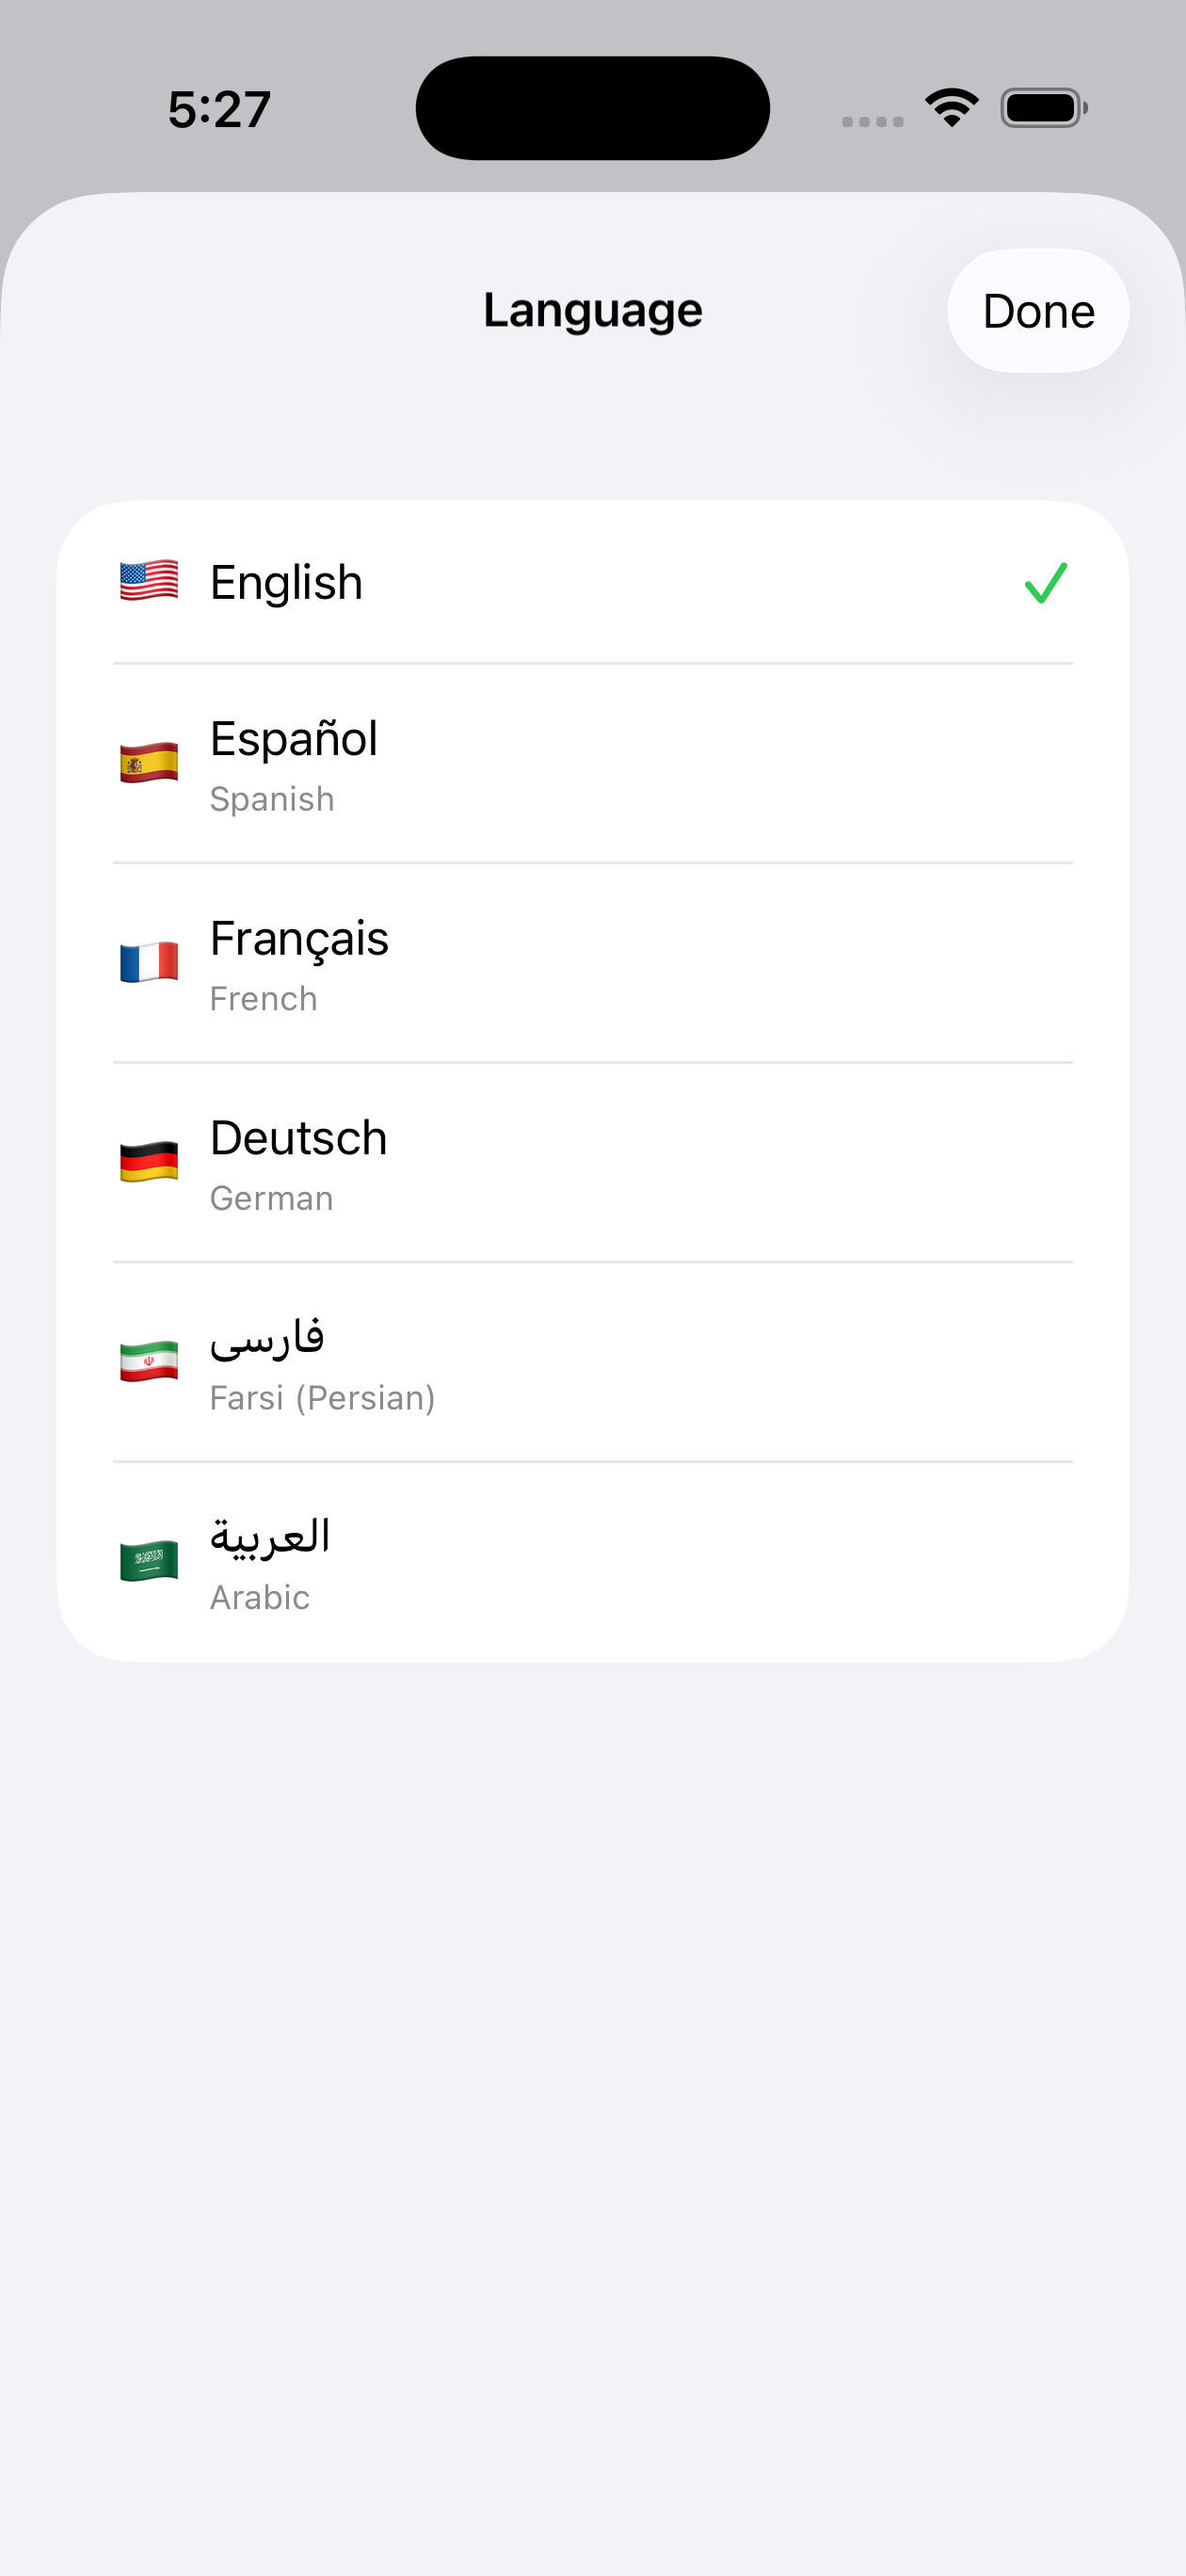
Languages #
Splitorium is available in 6 languages:
Changing Language
- Go to Settings
- Find Language option
- Select your preferred language
- The app will update immediately
Arabic and Farsi use right-to-left (RTL) text direction. The entire app interface flips to accommodate this!
Questions? Feedback? Reach out at support@splitorium.com
© 2025 Splitorium. Made with ❤️ for splitting expenses fairly.